Managing Service Accounts
Paid Plans Only
Service accounts are available only on paid plans. Free trial accounts cannot create service accounts.
Overview
Service accounts are non-human accounts designed for automated processes such as CI/CD pipelines and integrations.
Throughout this documentation, non-human accounts will always be referred to as service accounts. In contrast, accounts associated with individual users and linked to an email address will be referred to as users or user accounts.
Service accounts can be managed by any team administrator in their active team or any organization administrator.
Unlike user accounts, service accounts:
- Are not tied to a specific user and remain functional even if the creator is deleted.
- Cannot switch teams after creation.
Key characteristics:
- No UI or SAML SSO Sign-In: Service accounts cannot log in to the Sauce Labs UI or via SAML Single Sign-On.
- No Email Notifications: They do not have an email address and will not receive notifications.
- Credentials for Automation: They use a username and access key for API access and running tests as user accounts.
- Team Assignment: Once created, a service account is tied to a specific team and cannot be reassigned.
- Limited Permissions: Service accounts have limited permissions compared to user accounts, amongst others they cannot:
- manage teams and accounts (Accounts API)
- manage tunnels with Sauce Trusted Connection (Sauce Connect API, SC CLI 4, SC CLI 5)
- manage private real devices (Private Real Device API)
- use the API Testing API
- submit a crash in the Crash/Error Reporting
- use the Sauce Orchestrate
- use the Virtual USB CLI
Creating a Service Account
As a Team Administrator
- Click the Account icon
 in the top-right corner and select Team management.
 - Navigate to the Service Accounts tab.
- Click + New Service Account.
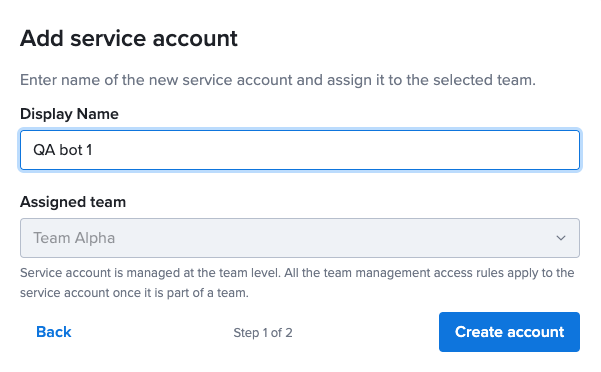
- Enter a Display name and verify the Assigned Team:
- The username is auto-generated based on the display name.
- You can update the display name later, but the username remains fixed.
- The service account is automatically assigned to your active team and cannot be reassigned later.
- Copy and securely store the username and the access key.
- Important: The access key is available only during this step and cannot be retrieved later.
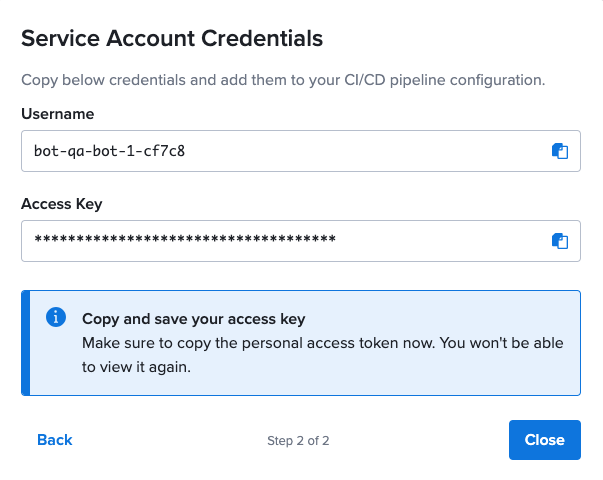
- Important: The access key is available only during this step and cannot be retrieved later.
As an Organization Administrator
- Click the Account icon
 in the top-right corner and select Organization management.
 - Click the Service Accounts tab to manage all service accounts across your entire organization.
- Alternatively, to manage service accounts for a specific team, select that team from the Teams tab and then click the Service Accounts tab.
- Click + New Service Account.
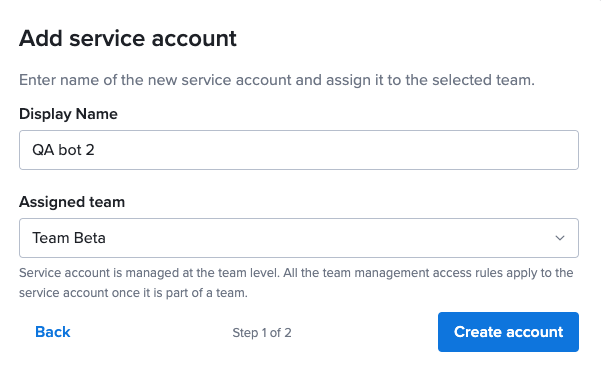
- Enter a Display name and choose the appropriate Assigned Team:
- The username is auto-generated based on the display name.
- You can update the display name later, but the username remains fixed.
- When managing service accounts at the organization level, you can assign the account to any team but it cannot be reassigned later.
- Copy and securely store the username and the access key.
- Important: The access key is available only during this step and cannot be retrieved later.
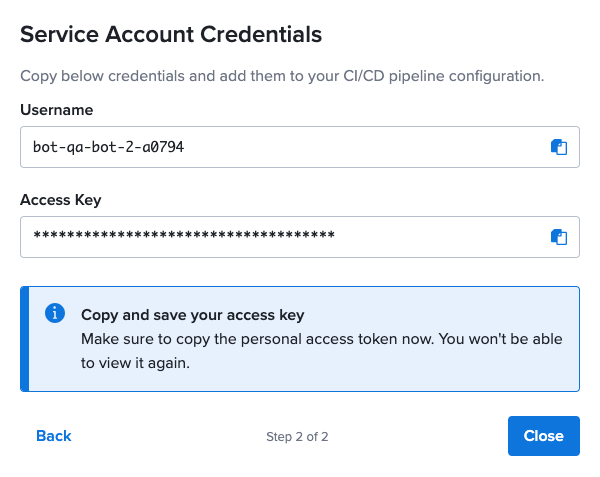
- Important: The access key is available only during this step and cannot be retrieved later.
Managing Service Accounts
Accessing the Service Account Details View
- Team Administrators: Can manage service accounts only in their active team. Use the team assignment dropdown list to switch teams.
- Organization Administrators: Can manage service accounts across any team.
As a Team Administrator
- Click the Account icon
 in the top-right corner and select Team management.
 - Click the Service Account tab.
- Click on the username of the service account you want to manage.
As an Organization Administrator
- Click the Account icon
 in the top-right corner and select Organization management.
 - Click the Service Accounts tab to manage all service accounts across your entire organization.
- Alternatively, to manage service accounts for a specific team, select that team from the Teams tab and then click the Service Accounts
- Click on the username of the service account you want to manage.
Deleting a Service Account
- Open the service account details view.
- Click the delete button.

- Confirm the deletion.
Deleting Service Accounts in Bulk
- Open the service account details view.
- Select the checkboxes next to the service accounts you want to delete.
- From the dropdown menu, choose Delete service accounts.

Resetting the Access Key
- Open the service account details view.
- Click the reset access key button.

- Confirm the reset action.
- Copy and securely store the new access key.
- Important: The access key is available only during this step and cannot be retrieved later.
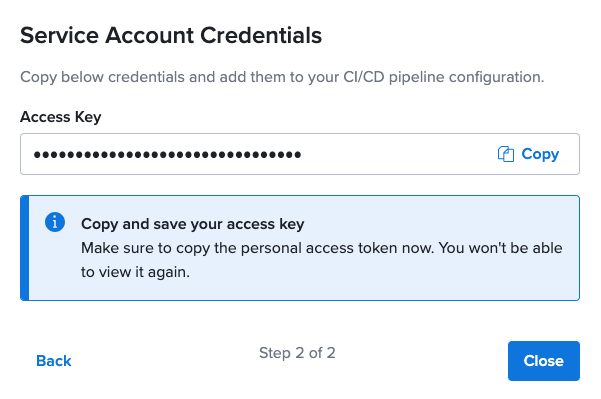
- Important: The access key is available only during this step and cannot be retrieved later.
Updating the Display Name
- Open the service account details view.
- Edit the display name field.

- Click the Update to save your changes.

Changing the display name does not affect the auto-generated username.
Running Tests as a Service Account
You can run tests as a service account in the same way you would with a user account - use the service account's username and access key.
Viewing Test Results
Jobs run by service accounts are displayed on the Automated Test Results page. The visibility and permissions for jobs and builds run by service accounts are the same as those for user accounts:
- When "Job Visibility Across Teams" is enabled in the Organization Security Settings: Users and service accounts across all teams in your organization can view jobs and builds from any team.
- When "Job Visibility Across Teams" is disabled: Users and service accounts can only view jobs and builds associated with their active team.
Using Sauce Connect Proxy with a Service Account
If you plan to run tests through a Sauce Connect Proxy tunnel, be mindful of tunnel sharing options. Service accounts cannot create or manage tunnels, so you must use a tunnel that has been shared with the service account’s assigned team. For detailed configuration instructions, refer to the shared tunnels section.