Connecting Sauce Labs Mobile App Distribution to Jira Cloud
Bug tracking is an essential part of the software development process to identify, document, and resolve issues in a systematic manner. Sauce Labs Mobile App Distribution integrates with Jira Cloud so that tester feedback becomes a Jira issue that carries the session data developers need.
Before using the bug-tracking features in Sauce Labs Mobile App Distribution, connect your Sauce Labs Mobile App Distribution account to Jira Cloud. The steps below establish a secure and authenticated connection between Sauce Labs Mobile App Distribution and Jira Cloud.
Creating a Jira API Token
To connect Sauce Labs Mobile App Distribution to Jira Cloud, you'll need to create an API token in Jira. This token will be used to authenticate Sauce Labs Mobile App Distribution when accessing your Jira account. Follow these steps to create the API token:
-
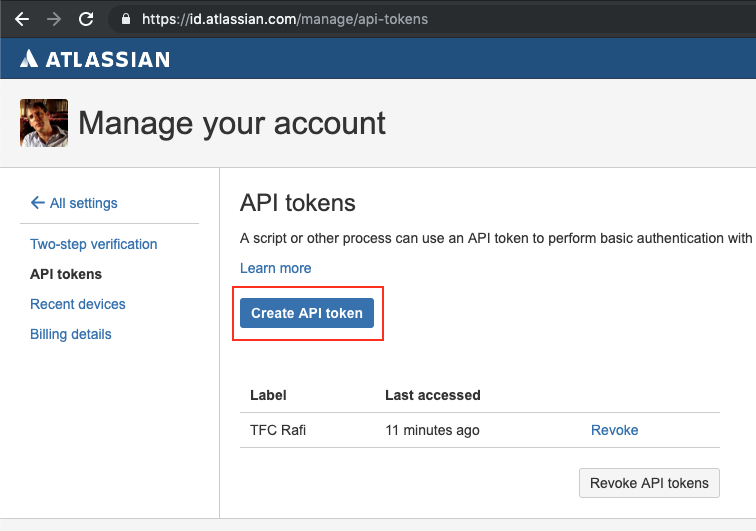
Log in to https://id.atlassian.com/manage/api-tokens# and click on Create API token.
-
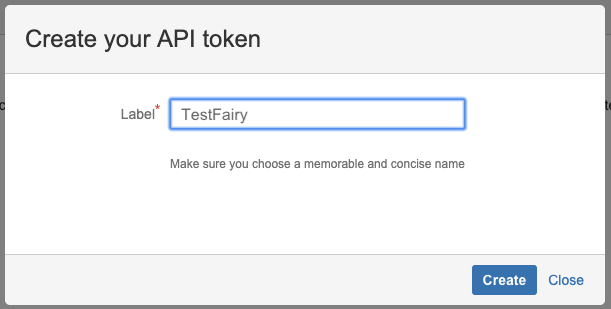
Give the new token a label that identifies the integration.
-
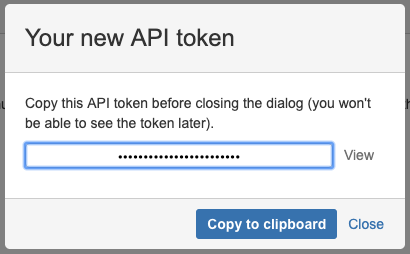
Copy the API Token.
Configuring Jira in Your Sauce Labs Mobile App Distribution Settings
To connect Sauce Labs Mobile App Distribution to Jira, you'll need to configure Jira settings in your Sauce Labs Mobile App Distribution account. Follow these steps to complete the configuration:
-
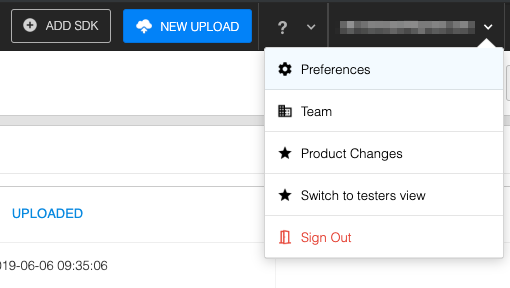
Open your Sauce Labs Mobile App Distribution account Preferences.
-
Choose Integrations, scroll to Jira and press Add integration.

-
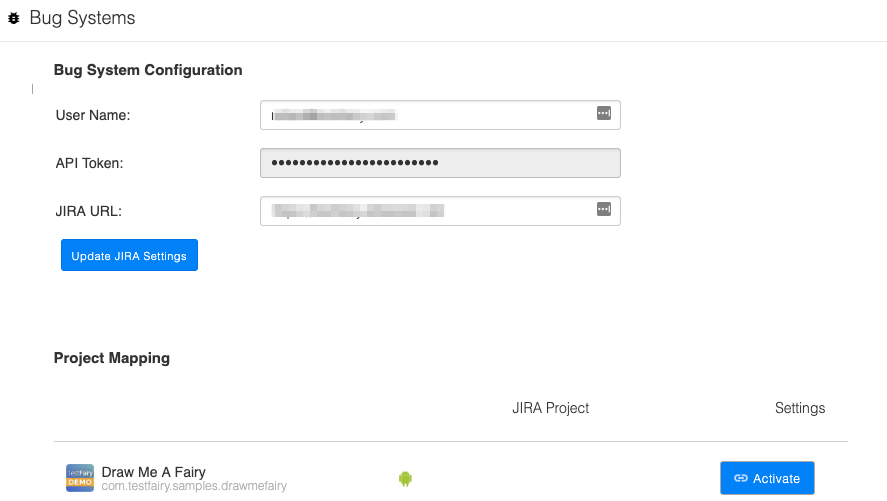
Enter your Jira Username, API Token, and Jira URL in the next screen and press Update Jira Settings.
(Optional) Installing the Sauce Labs Mobile App Distribution Chrome Extension (Deprecated)
The Sauce Labs Mobile App Distribution Chrome Extension is available at https://chrome.google.com/webstore/detail/testfairy-for-jira/joaafaemekbkgekhjbaldlllcnjifcee. With this Chrome extension, every Jira issue that has a link to a Sauce Labs Mobile App Distribution session will contain the proper Sauce Labs Mobile App Distribution session, timeline, and logs embedded in the Jira issue.
The Chrome extension is deprecated. Use the Jira add-on described in the next section instead.
(Optional) Adding the Sauce Labs Mobile App Distribution Jira Add-on to Your Jira Account
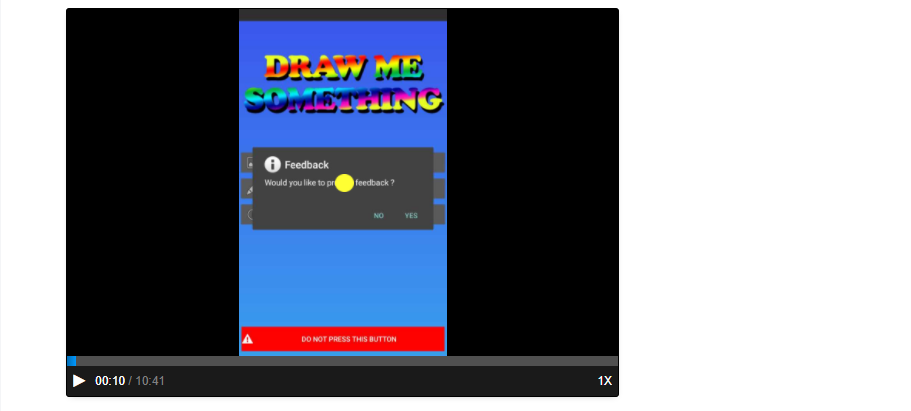
Add the Sauce Labs Mobile App Distribution Jira Add-on to your Jira account to include Sauce Labs Mobile App Distribution videos in Jira issues. Follow these steps to add the add-on:
-
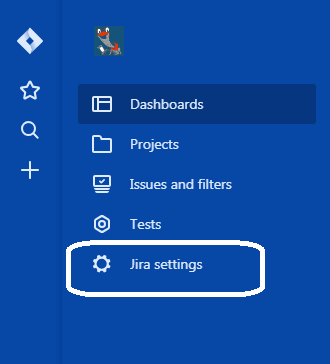
Open Jira Settings.
-
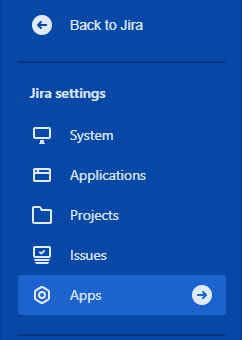
Open Apps.
-
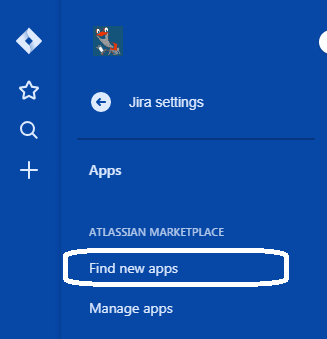
In the Apps menu, press Find new apps.
-
Add Sauce Labs Mobile App Distribution for Jira to your account.
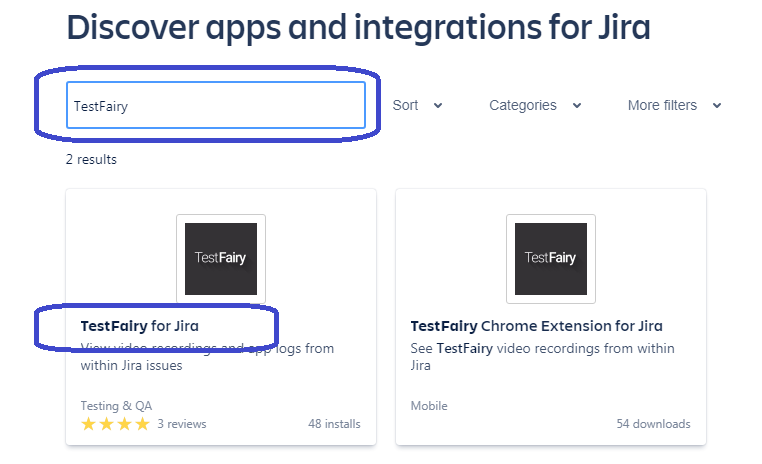
-
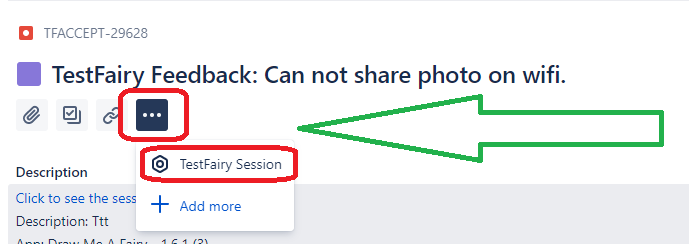
On the first issue created, click on the "3 dots" icon and choose Sauce Labs Mobile App Distribution Session.
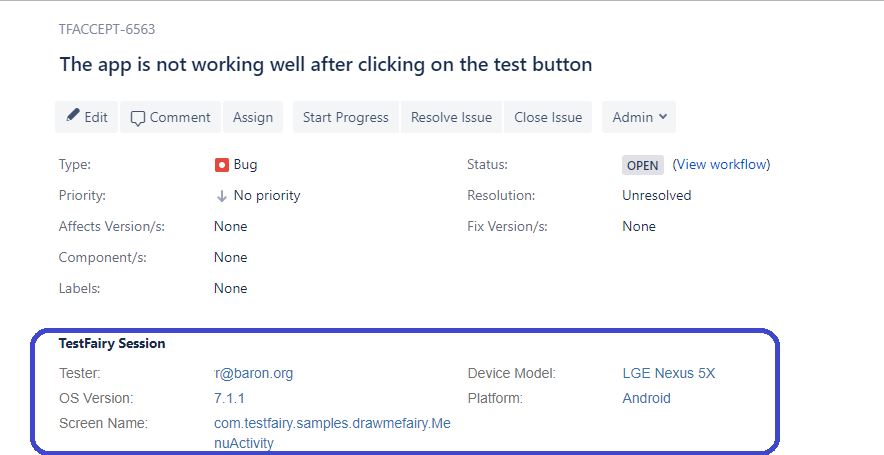
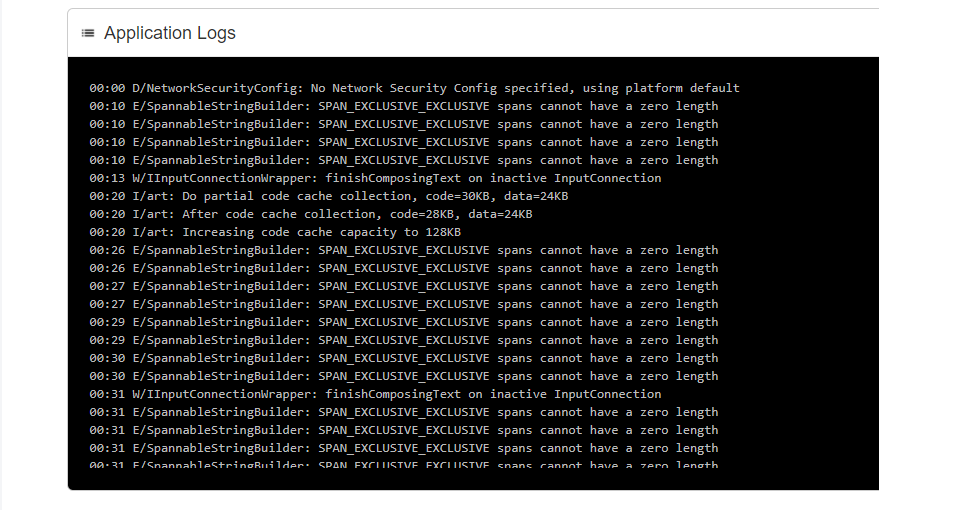
After the installation, the Jira issue looks like the following:
(Optional) Mapping Jira Custom Fields
Highly Recommended
Mapping Jira custom fields lets you automatically populate fields in a Jira issue when it is created, using standard Sauce Labs Mobile App Distribution session data or your own custom session attributes. This removes manual data entry and ensures every issue is created with consistent, complete information.
Follow these steps to map Jira custom fields.
Prerequisites
Before you begin, connect a Jira account by following the steps in Creating a Jira API Token and Configuring Jira in Your Sauce Labs Mobile App Distribution Settings above.
Supported Field Types
The following Jira field types can be mapped:
| Field type | How it is mapped |
|---|---|
| Text field, Text area | Free text, a dynamic value, or a mix of both |
| Single select, Radio buttons | A fixed option from the field's list, or a dynamic value that resolves to one of the options |
| Multi-value fields with a fixed option list (for example, Labels) | A fixed option or a dynamic value |
| Priority | A fixed priority or a dynamic value |
Other field types, such as user pickers, date pickers, number fields, and cascading selects, cannot be mapped and do not appear in the configuration table.
If your Jira project marks an unsupported field type as required, Jira may reject issues created by the integration. Make required fields in the target project either supported types or optional.
Mapping the standard Summary and Description fields requires an account-level feature that is disabled by default. Contact support to have it enabled. After it is enabled, both fields appear in the configuration table and accept dynamic values like any other field. Other standard Jira fields, such as Assignee and Reporter, cannot be mapped.
Configuring the Integration
-
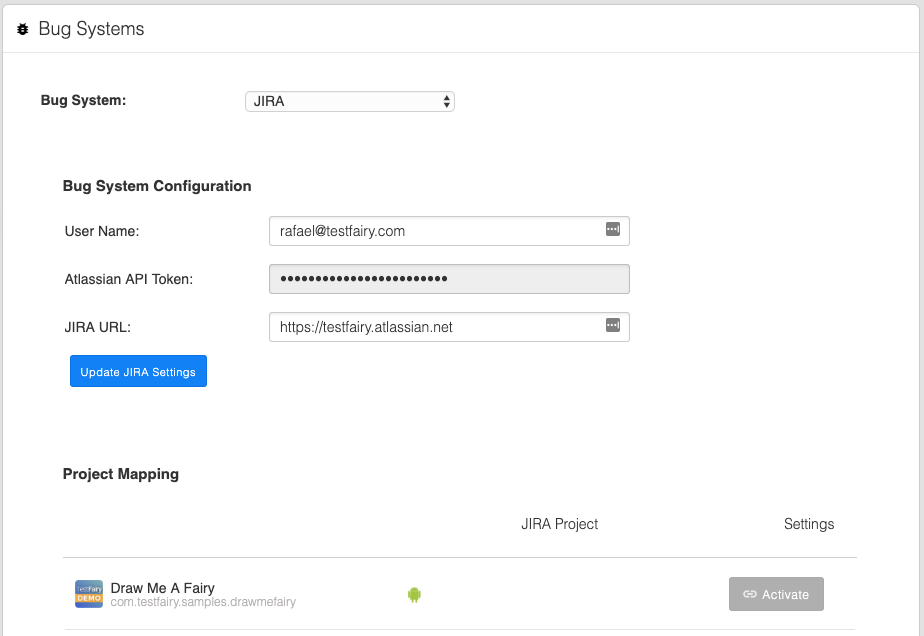
From your list of apps, select the app you want to connect and click Activate.
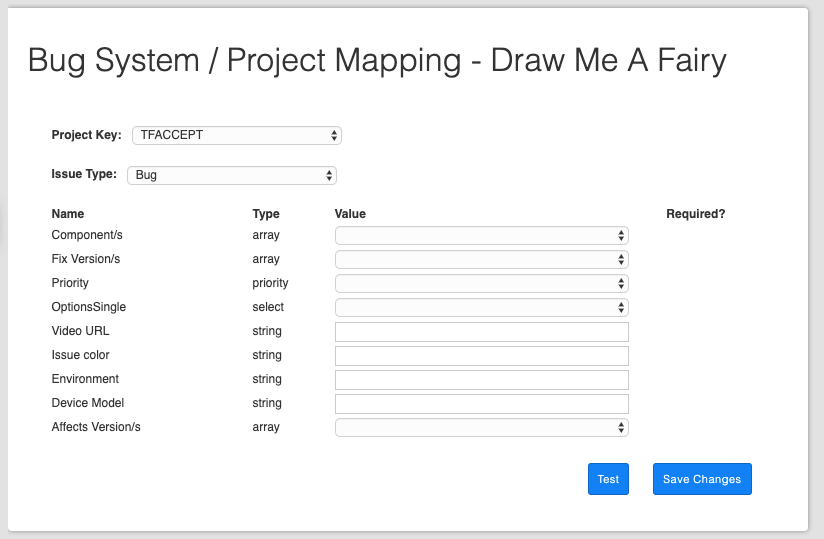
You can now configure the Jira fields:
-
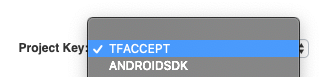
In the Jira configuration screen, select the Project Key for the Jira project you want to connect to.
-
Select the Issue Type you want to configure.

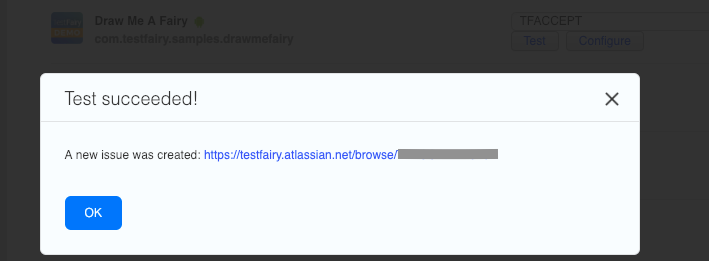
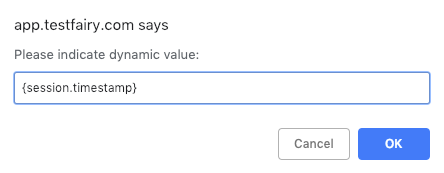
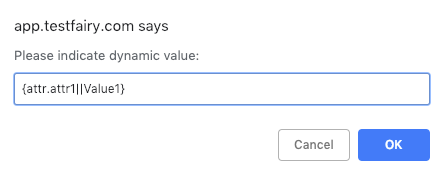
To verify the connection before saving, click TEST. If your mapping contains dynamic values, a dialog first asks you to enter a sample value for each one. A pop-up window then displays the result. A valid Jira link confirms that issue creation is working correctly. If you receive a PENDING response, review your connection configuration.
Understanding the Field Table
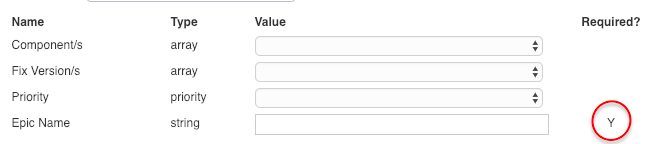
Each issue type has its own set of associated fields. In the configuration screen, each field is described by the following columns:
| Column | Description |
|---|---|
| Name | The name of the Jira field. |
| Type | The field type as defined in Jira. |
| Value | The value to populate, drawn from Jira's available values, a predefined fixed value, or a dynamic value (see below). |
| Required? | Indicates whether the field is required or optional. |
Setting Field Values
When defining values in the Configure Fields window, use one of the following methods.
Static values. When you select a value from a dropdown list, that value is populated as-is (text) into the corresponding Jira field.
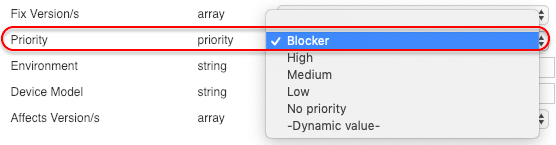
Predefined dynamic values. Select the Dynamic value option to insert placeholders that are automatically replaced with live session data. Available placeholders include:
| Placeholder | Description |
|---|---|
{user.id} | The user ID of the running session. |
{session.timestamp} | The timestamp of the session. |
{session.url} | The session URL on the Sauce Labs Mobile App Distribution dashboard. The viewer must be signed in to open it. |
{session.publicUrl} | A public link to the same session that opens without signing in. Anyone who has the link can view the session recording, and the link does not expire. |
{session.ipAddress} | The IP address of the device running the session. |
{device.os} | The operating system of the running device. |
{device.model} | The device model of the handset. |
{device.osVersion} | The OS version on the device (for example, an iPhone running iOS 12 returns 12). |
{app.name} | The application name. |
{app.version} | The build's versionName (Android) or CFBundleShortVersionString (iOS). Example: 1.7.0. |
{app.fullVersion} | The versionName plus versionCode (Android) or CFBundleVersion (iOS). Example: 1.7.0 (1700). |
{feedback.text} | The feedback message. |
{feedback.timestamp} | The absolute timestamp of the feedback. |
{feedback.relTimestamp} | The relative timestamp of the feedback (mm:ss) since the session started. |
{session.publicUrl} places a link that requires no sign-in into every issue created from that mapping. Anyone who can read the Jira issue, including people outside your Sauce Labs account, can view the session recording, and the link cannot be revoked without a platform change. Accounts with strict data-sharing requirements should map {session.url} instead, which requires the viewer to be signed in.
You can combine placeholders with plain text in the same field, for example:
{feedback.text||No feedback text} | Session: {session.url}
To give an entire Jira project access to the recording, map a field such as Session URL to the public link:
{session.publicUrl||No session recorded}
Placeholders are validated on save. If a field contains a placeholder that does not exist, for example a misspelling such as {sessio.publicUrl}, the configuration is rejected and the message names both the placeholder and the Jira field. Nothing is saved until it is corrected. Jira text formatting such as {color:red} is still accepted, but single-word tags such as {code}, {noformat}, and a closing {color} cannot be used inside a mapped field.
Custom attribute values. You can also map attributes defined in your app's code. Enter them in the Dynamic value field using the following structure:
{attr.[attribute_name]||[default_value]}
- attribute_name: The name of the attribute set in your code (for example, with the
setAttributefunction). The value of this attribute is passed to Jira. - default_value: A fallback value passed to Jira if the attribute is missing from the session. This ensures the Jira field always receives a valid entry. A default is mandatory for required fields. The configuration screen adds one automatically if you omit it. If a non-required field resolves to an empty value, the field is left out of the created issue.
Example: {attr.build_channel||production} maps the value of your build_channel attribute to the Jira field. If no value is available for a given session, production is used instead.
Setting Custom Attributes in Your App
Set attributes from your app's code before or after the Sauce Mobile Beta SDK starts a session. See Session Attributes for the full setAttribute reference.
- Android
- iOS (Swift)
- iOS (Objective-C)
- React Native
TestFairy.setAttribute("build_channel", "production");
TestFairy.setAttribute("build_channel", withValue: "production")
[TestFairy setAttribute:@"build_channel" withValue:@"production"];
TestFairy.setAttribute('build_channel', 'production');
Keep the following rules in mind:
- Attribute names must contain only letters, digits, and underscores. Names with spaces, hyphens, or dots can be stored, but cannot be referenced as a dynamic value in Jira mappings.
- Each session can store up to 64 attribute keys. Keys are limited to 64 characters and values to 1 KB.
- The call returns
true(Android) orYES(iOS) on success, andfalse/NOif a limit is exceeded. Check the return value during development, as failures are otherwise silent.
To verify that attributes were recorded, open the session in the dashboard and check the Session Information panel: recorded attributes appear under Custom Attributes.